
INTRODUCTION
It’s vital to comprehend the broad procedure before delving into the specifics of app development. The development environment, user interface design, code to execute functionalities, testing, and debugging are several stages in the creation of an Android app. The Google Play Store release is the last step before your app is ready.
Idea Phase: This is where it all begins – with your fantastic app idea. It’s critical to ensure your idea is clearly defined and that you’ve researched its potential market appeal and competitiveness.
Planning Phase: During planning, you’ll refine your idea, outline your app’s functionalities and features, and map out its user interface and experience.
Design Phase: Next, you’ll translate your plan into a visual prototype, designing your app’s user interface.
Development Phase: This is where you’ll actually code your app, developing it according to your plans and design.
Testing Phase: To make sure that your app is bug-free and you get a great user experience, you’re going to have to test it carefully following the completion of development.
Launch Phase: You will launch your app in the Google Play Store once tests are complete, so users around the world can have access to it.
Post-Launch Phase: After launch, it’s essential to monitor your app, maintain it, and make any necessary updates or improvements.
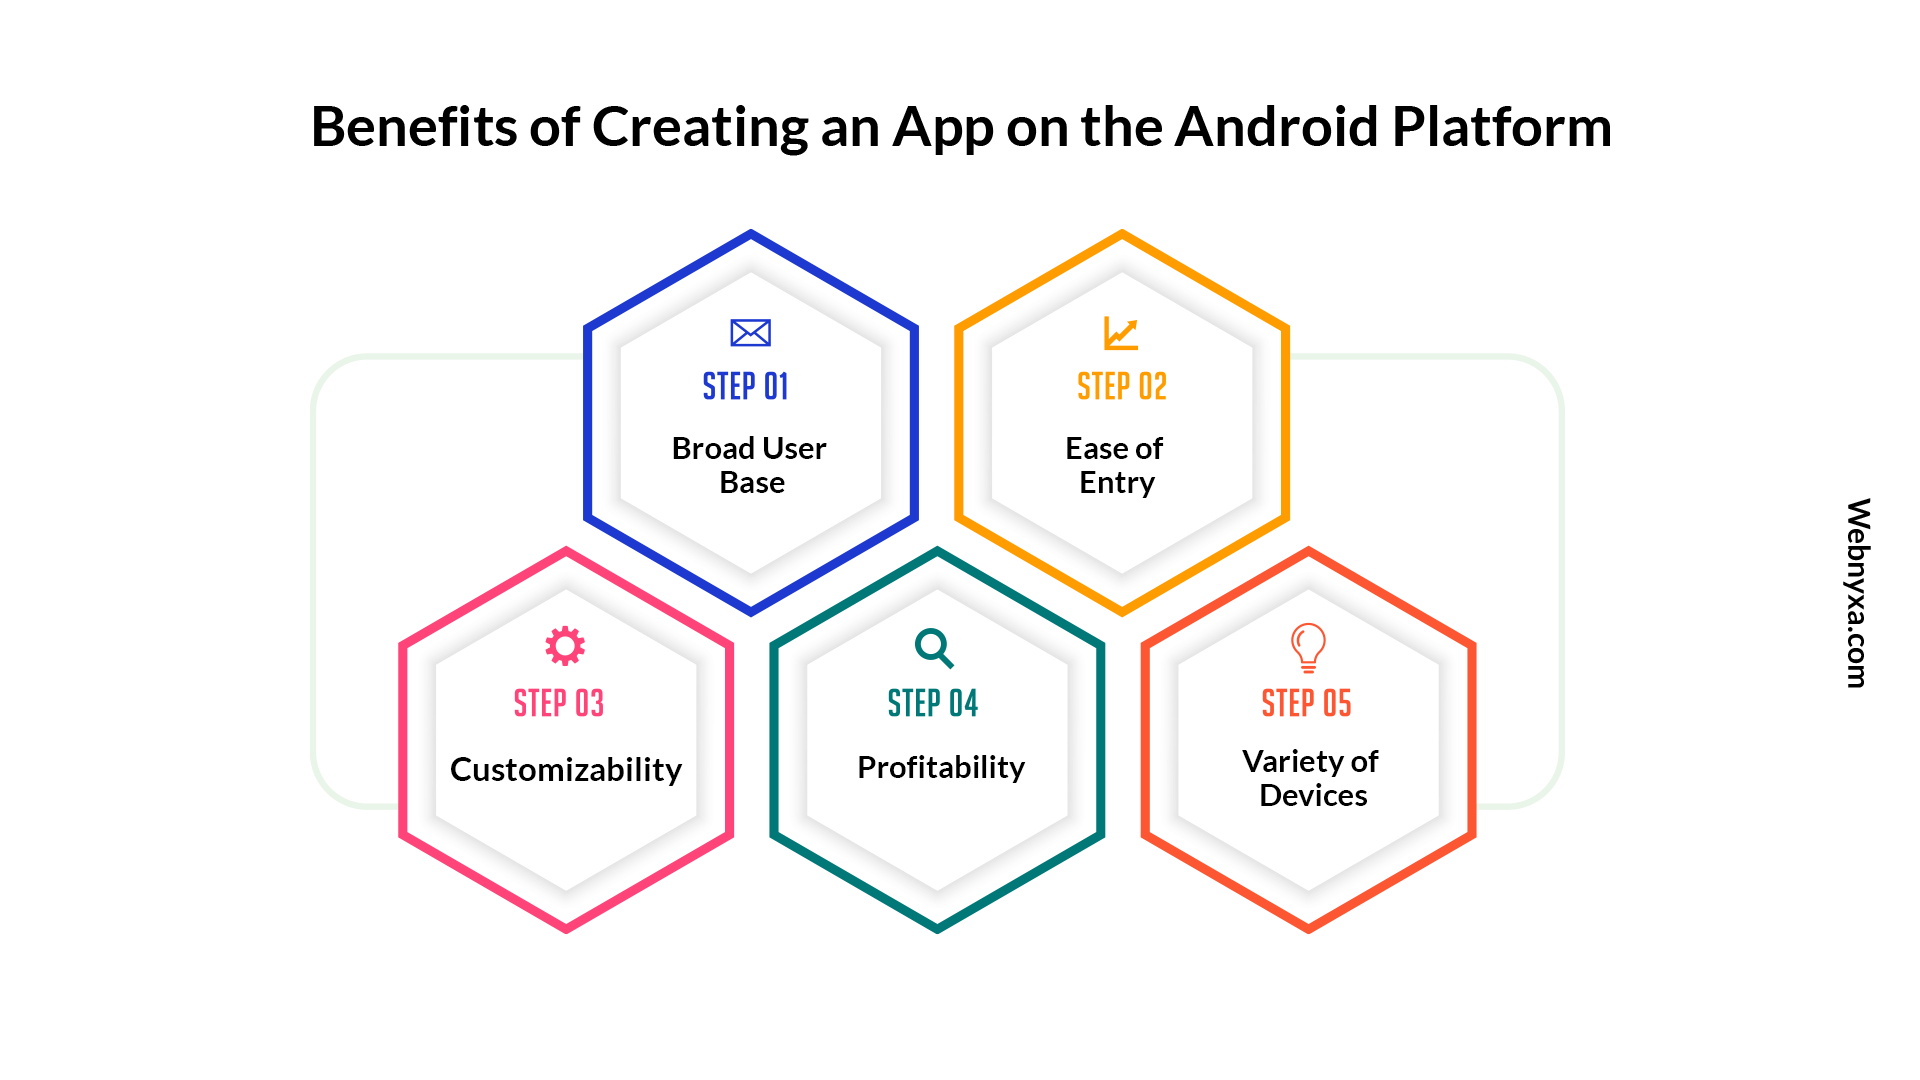
Benefits of Creating an App on the Android Platform
Broad User Base: Android dominates the mobile OS market share globally, meaning your app has the potential to reach an extensive audience.
Ease of Entry: Google Play has a simpler, more straightforward approval process than some other platforms, making it an excellent place for beginners to start.
Customizability: Because Android is open-source, developers have more creative and flexible options when creating new apps.
Profitability: Although iOS users tend to spend more per app, the sheer volume of Android users can lead to high profitability if your app becomes popular.
Variety of Devices: Android apps are not limited to smartphones. A variety of gadgets, including tablets, TVs, and even in-car systems, can have them produced as well.
SETTING UP THE DEVELOPMENT ENVIRONMENT
Making your development environment ready is the first step. Developers use specialized software in the same way as artists require their tools to create their works of art. In particular, we need the Android studio and the Java development kit JDK.
Installing Java Development Kit (JDK)
Java is the most used programming language for Android app development. It is a must to install the Java Development Kit (JDK) on your computer to begin. The JDK includes the Java compiler, necessary libraries, and tools required to write and run Java code.
Download the JDK: Visit Oracle’s official website, navigate to the ‘Java SE Development Kit’ download section and download the version appropriate for your operating system.
Install the JDK: Open the downloaded file and follow the installation prompts. The steps are quite straightforward, but make sure you remember or note down the directory where the JDK is being installed; it’ll come in handy later.
Set up environment variables: It might look intimidating, but it can be done in a very easy way, but it’s actually quite simple. You need to tell your computer where to find the JDK. On Windows, you’ll do this by setting up system environment variables. There are lots of online guides that you can go through step by step with this process, for your particular operating system.
Setting up Android Studio
The official Integrated Development Environment (IDE) for developing Android apps is known as Android Studio. It offers a complete set of features and tools made especially to make the process of creating apps easier.
Download Android Studio: You’ll find a stable version for your operating system on the official website of android studio.
Install Android Studio: Run the downloaded file and follow the installation wizard’s instructions. It’s okay to accept the defaults in the installation process, but make sure your system meets the requirements to run Android Studio smoothly.
Run Android Studio for the first time: Open Android Studio. During the first run, it’ll download necessary components like the latest Android Software Development Kit (SDK). Be patient, as this might take a while depending on your internet connection.
Configuring Virtual Devices for Testing
Android Studio allows you to test your app on virtual devices, simulating different Android devices and versions. This is an invaluable feature that enables you to ensure your app functions correctly across a range of devices without needing physical hardware for testing.
Open Android Studio’s AVD Manager: You can find this under ‘Tools > AVD Manager’. AVD stands for Android Virtual Device.
Make a brand-new virtual machine: Choose a phone model to simulate by clicking on “Create Virtual Device…,” then pick a system image. We recommend using a system image with the Google Play Store included, as it’ll allow you to test apps with Play Services.
Finish and run the virtual device: Click ‘Finish’ to create your virtual device. Return to the AVD Manager, choose your newly created device from the list, and press the green “play” button to launch it.
UNDERSTANDING THE BASIC PRINCIPLES OF ANDROID APP DEVELOPMENT
Every Android app, from the simplest note-taker to the most complex game, is built upon the same fundamental architecture. Comprehending its design is similar to comprehending a house’s plan since it makes it easier to grasp how all the various components work together.
The manifest file (AndroidManifest.xml) for an Android app acts as a generic foundation for the program’s constituent parts. These components can be broadly classified into four types: Activities, Services, Content Providers, and Broadcast Receivers. Each type serves a specific purpose in the app’s functioning, and they can work together in various ways to form a complete Android app.
Familiarizing with Key Components: Activities, Services, and Broadcasts
Activities: An activity represents a single screen with a user interface. For instance, email software may have three distinct functions: reading emails, sending emails, and providing a list of emails. Each activity in an app is independent of others but can work together to form a cohesive user experience.
Services: A service is a piece of software that operates in the background and handles time-consuming tasks or work for other processes that are running elsewhere. The user interface of a service is absent.
Broadcast Receivers: A broadcast receiver is a component that enables the system to deliver events to the app outside of a regular user flow. For instance, applications can start up when the device starts up or schedule activities to execute at a specified time, even if the app isn’t open at the moment. Broadcast receivers are dormant most of the time but will spring to life when they receive a “broadcast” message from the system or other apps.
Understanding Layouts and UI Elements
The user interface of an Android app is built using a hierarchy of layouts and widgets (UI elements). The visual structure of the user interface, for example, a screen or widget, is defined by layout. They can be declared in two ways: as a drawable resource defined in XML, or at runtime using View and ViewGroup objects.
Layouts: These are the containers that control how its child views are positioned on the screen. LinearLayout, RelativeLayout, and FrameLayout are just a few of the layout kinds that Android offers. Each has distinct qualities and functions of its own.
UI Elements: These are the building blocks of your user interface. They can range from basic components like TextView, which shows text to the user, and Button, which causes a certain action to be taken when pressed, to more sophisticated ones like RecyclerView, which effectively displays a vast amount of data by recycling elements.
DESIGNING THE APP
Defining the App’s Purpose and Target Audience
Your app must have a clearly defined purpose, answering the “why” behind its existence. What problem does it solve? What need does it address? Your app’s purpose should drive every design decision you make. Moreover, clearly identifying your target audience—the people who will use your app—is equally vital. Are they tech-savvy young adults, busy professionals, elderly individuals, or schoolchildren? Knowing your audience will help you make design choices that cater to their preferences and expectations.
Creating Wireframes and User Interface (UI) Design
With the purpose and target audience in mind, it’s time to work on the app’s wireframe—a simplified visual concept of the app’s layout. Wireframes are like the skeleton of your app, showing where on the screen various elements will go.
Start with sketching your ideas on paper or using a digital tool. Identify the key screens your app will have and lay out the elements for each—buttons, images, text, etc. Think about the flow from one screen to another. This phase is about determining the functionality and placement of features, not about choosing colors, fonts, or detailed aesthetics—that comes next.
Once your wireframes are ready, you can start refining your user interface design. You’ll be able to choose from your font, photographs, animation, color scheme, and more. Keep it straightforward, user-friendly, and appropriate for your app’s audience and purpose.
Applying Material Design Principles for a Modern Look and Feel
Google’s Material Design is a design language that fuses the fundamentals of excellent design with cutting-edge technological and scientific innovation. It provides recommendations for creating user interfaces, including things like navigation, color, typography, and layout. Applying these guidelines may give your app a contemporary appearance and feel while also ensuring a consistent user experience.
Use of Grids: Grids help maintain alignment and consistency in the design. They guide the placement of elements and help create a balanced layout.
Color: Material Design suggests using bold and vibrant colors to provide visual cues and enhance the user experience. They recommend using a primary and secondary colors to bring consistency and harmony to your design.
Typography: Material Design recommends using legible and accessible typography that ensures readability across different screen sizes and resolutions.
Navigation: The design should guide users through the app intuitively. Transitions between screens should be smooth, maintaining continuity for the user.
Feedback: Your app should respond to user actions with visual, haptic, or audible feedback. This gives users a sense of control, making the app feel more responsive and intuitive.
BUILDING THE APP
Creating a New Project in Android Studio
Open Android Studio: Launch Android Studio and click on ‘New Project’.
Choose a template: For a beginner, the ‘Empty Activity’ template is an excellent place to start, as it provides a basic screen design and navigation controls.
Name your project: Pick a name for your project that, in theory, accurately describes what your app does.
Specify your app’s package name: This must be unique across the Google Play Store.
Choose where to save your project on your machine: A well-organized workspace can help you find your files easily later.
Select the language: Choose between Java and Kotlin. For beginners, Java might be easier to grasp.
Set your minimum SDK: This defines the lowest Android version that your app will run on. Aim for a version that covers a large majority of Android devices.
Finish: Click on ‘Finish’ to create your new project.
Configuring Project Settings and Dependencies
The build will specify your project’s settings and dependencies build.gradle files. The Project-level build.gradle file contains configurations that apply to all modules in your project, while the Module-level build. Configurations specific to that module are also included in the gradle file, such as the declaration of dependencies.
Dependencies are external libraries that provide additional functionality that your app needs. For instance, you may utilize the OkHttp library if you want to retrieve data from the internet, and you would specify this dependence in your module-level build.gradle file.
Writing Java or Kotlin code for app functionality
The coding phase of your app development adventure may now begin after you have set up your project. Writing the necessary code for your app’s functionality using the Java or Kotlin programming languages should be your primary emphasis at this point.
It’s crucial to have a disciplined and organized approach to developing the code for your app. Start by deciding what essential features and capabilities your app needs. You would need to build code that does calculations when a user interacts with the operation buttons, for example, if you were creating a calculator app.
Handling User Interactions and Events
User interaction is the backbone of any app. This is where you handle actions like button clicks or text input.
You might wish to copy the text that the user enters and save it someplace when they use note-taking software and click the “save” button. To do this, create an “OnClickListener” for the button, and inside of that listener, write the code to store the note.
Implementing Navigation between Screens
The ability to navigate between screens is a fundamental aspect of any robust app. In Android, you can achieve this by utilizing Intents, which facilitates the transition from one activity to another seamlessly.
Imagine a scenario where you have a “Home” screen and a “Login” screen. Once the user successfully logs in, it’s essential to navigate them to the appropriate destination—the “Home” screen.
In order to do this, you must establish a new Intent using the word “Home” as the target action. By invoking the “startActivity()” method, you execute the intent, effectively transitioning the user to the desired screen.
TESTING AND DEBUGGING
Setting Up an Emulator or Connecting a Physical Device
You may test your app on a real Android smartphone or an emulator, a simulated device that runs on your computer.
Setting Up an Emulator: Android Studio includes an emulator. Create a new virtual device in the AVD (Android Virtual Device) Manager to set it up. The Android model and version you wish to replicate are also selectable.
Connecting a Real Device: Connect your Android device to your computer using USB if you’d rather test on a real device. In the ‘Developer settings’ on your device, you must turn on ‘USB debugging’. Once connected, Android Studio will identify the device and let you install and execute your app on it.
Running the App and Identifying and Fixing Errors
To run your app, simply click on the green play button in Android Studio. The app will be built and installed on your chosen testing device.
As your app runs, monitor the ‘Logcat’ in Android Studio. It displays system messages and errors (exceptions). If your app crashes or behaves unexpectedly, the stack trace in Logcat is often your first clue to identifying the issue.
Debugging in Android Studio is an interactive process. You can set breakpoints in your code where execution will pause, and you can inspect variables and control execution to understand how your code is behaving.
Conducting User Testing for Feedback and Improvements
Conducting User Testing for Feedback and ImprovementsWhile testing the technical aspects of your app is crucial, nothing substitutes for real user feedback. Putting your software in the hands of your target market and gaining their opinion on its usability, functionality, design, and other factors is known as user testing.
Consider a closed beta test with a small group of trusted testers. Their feedback can reveal invaluable insights about your app’s strengths and areas for improvement. Google Play Console provides the option to release beta versions of your app to a limited audience for this purpose.
Once you’ve collected feedback, iterate on your design and code to implement improvements. Then, test again. Repeat this process until you’re confident that your app is ready for the wider audience.
PUBLISHING YOUR APP
Preparing the App for Release
Before releasing your app, it’s necessary to remove any logging and debugging information, ensure the app’s performance and functionality are up to par, and update resources like strings and graphics. It’s also important to configure your app’s version information and manifest file correctly. These final touches are vital to ensure your app provides a smooth, professional experience to its users.
Generating Signed APK (Android Package) Files
To distribute your app, you’ll need to generate a signed APK (Android Package). This file is the package that includes all of your app’s compiled code, resources, and a manifest file.
To generate a signed APK in Android Studio, you’ll go through the ‘Generate Signed Bundle / APK’ option in the ‘Build’ menu. Instead of building a new key store, you can use one that already exists from another program. Keep this key store secure since you’ll need it every time you wish to issue an update to your app as it is needed to confirm the authorship of the program.
Registering for a Google Play Developer Account
To submit your app to the Google Play Store, you need a Google Play Developer account. The initial registration price for a Google Play Developer account is $25. You must accept the Developer Distribution Agreement, provide your account information, and pay the registration cost in order to sign up.
Uploading the App to the Google Play Store
You can start to create new apps and add all important details about them, such as the title, description, category, etc. after you’ve created your Developer account. You’ll also upload screenshots and videos of your app for users to preview before downloading. After that, you’ll upload the APK file you generated earlier. After Google has examined your app for any policy infractions, if everything is in order, it will be prepared for publication.
Managing App Updates and User Reviews
Publishing your app is not the end of the journey; it’s just the beginning. As users begin to download and use your app, they’ll inevitably find things they wish were different or better. They’ll leave reviews and ratings, which are valuable sources of feedback. Responding to user reviews and maintaining a positive rating can significantly impact your app’s success.
You must periodically update your app if you want to make changes. You must raise the version number of your app each time you make changes and wish to update it, create a fresh signed APK, and publish it to the Google Play Console.
CONCLUSION
You will have a solid foundation in Android app development after completing this lesson. But it is always more than that to know and understand. Explore more complex subjects, such as integrating APIs, putting sophisticated UI concepts into practice, and improving app performance.
Keep in mind that practice makes perfect. Continue developing apps, trying out novel features, and pushing yourself to provide unique and helpful experiences. Don’t be afraid to ask for assistance or to join forums and groups to share knowledge with others because the Android development community is large and welcoming.
Leave a Reply
You must be logged in to post a comment.